

For modifying below all changes you have to write these function and hooks in your active theme’s function.php file.
Create one directory called login into your active theme.
1. Change the logo: Save Your Logo image as logo.png to login directory you created.
function modify_logo() { $logo_style = '<style type="text/css">'; $logo_style .= 'h1 a {background-image: url(' . get_template_directory_uri() . '/login/logo.png) !important;}'; $logo_style .= '</style>'; echo $logo_style; } add_action('login_head', 'modify_logo');Here we use login_head wordpress action for append this css to the login page’s <head> section. We are changing the background image of H1 tag to our custom logo image and you need to include “!important” to your CSS so default logo image is overwritten by it.
2. Change the logo image URL: Default logo image URL is wordpress.org. If You want to redirect link to your homepage or other useful stuff links you can follow simple steps:
function custom_login_url() { return 'http://www.addwebsolution.com'; } add_filter('login_headerurl', 'custom_login_url');Here we use login_headerurl wordpress filter to change the url.
3. Add custom css for login page: Create a custom css file with any name and save it login folder created by you in active theme folder. (Here I create css with name “custom_login.css”).
***** custom_login.css ***** /* Change background image and font family */ body { background-image: url(background.png); font-family: Arial,Verdana,sans-serif; } /* Change Width and Height of Logo Image + Add Custom Image File */ .login h1 a { background-image: url(logo.png); width: 213px; height: 97px; background-size: 213px 97px; } /* Add a few changes to the color and style of form itself */ .login label { color: #454545; display: block; margin-bottom: 1em; font-weight: bold; } .login form .input { font-weight: normal; } .login #backtoblog a, .login #nav a { color: #4da28f; } .wp-core-ui .button-primary { background: #4da28f; }Add below code your current theme function.php file. To add custom css file into <head> section:
function custom_login_css() { wp_enqueue_style('login-styles', get_template_directory_uri() . '/login/custom_login.css'); } add_action('login_enqueue_scripts', 'custom_login_css');4. Add custom link under login form
function custom_link() { ?><p style="text-align: center; margin-top: 1em;"> <a style="color: #4da28f; text-decoration: none;" href="http://www.addwebsolution.com/blog">If you have any query, visit our blog</a> </p><?php } add_action('login_footer','custom_link');Here we use login_footer action hook for adding custom link at login footer.
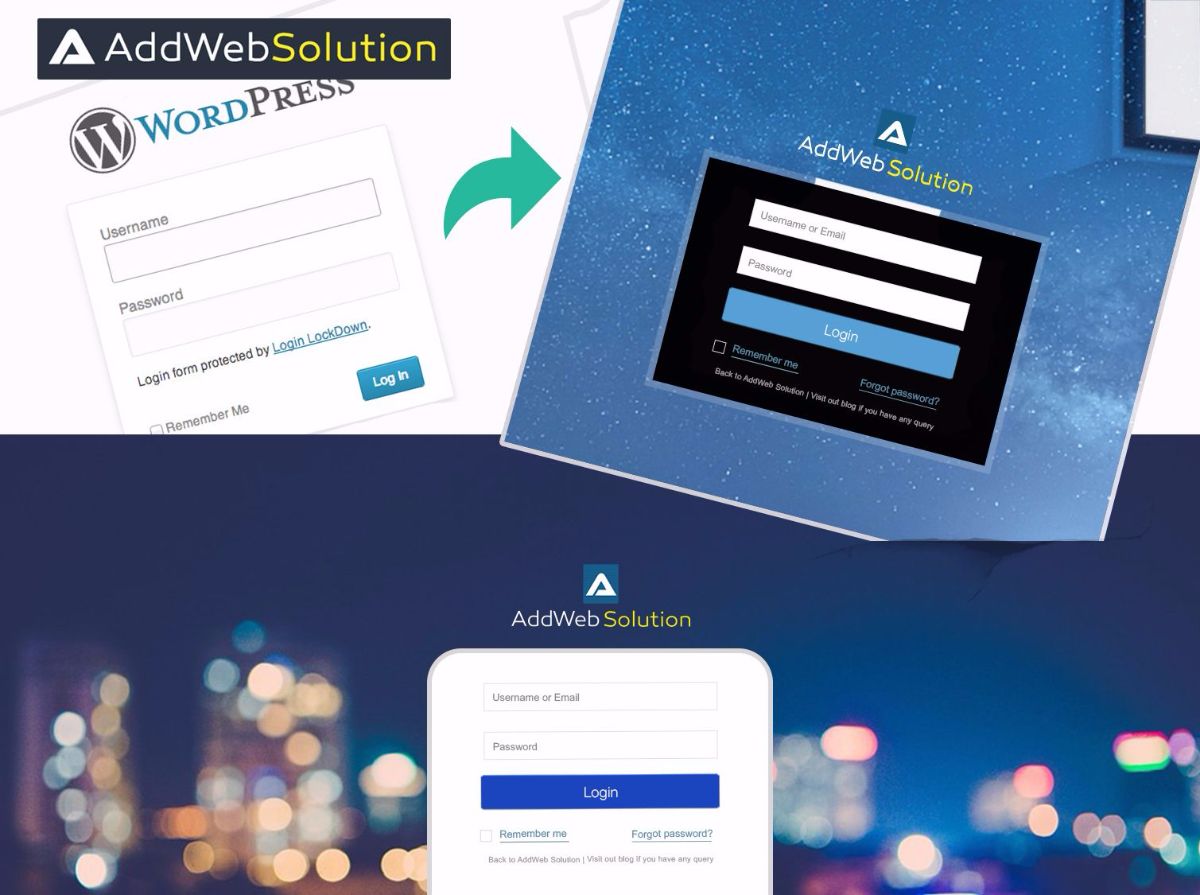
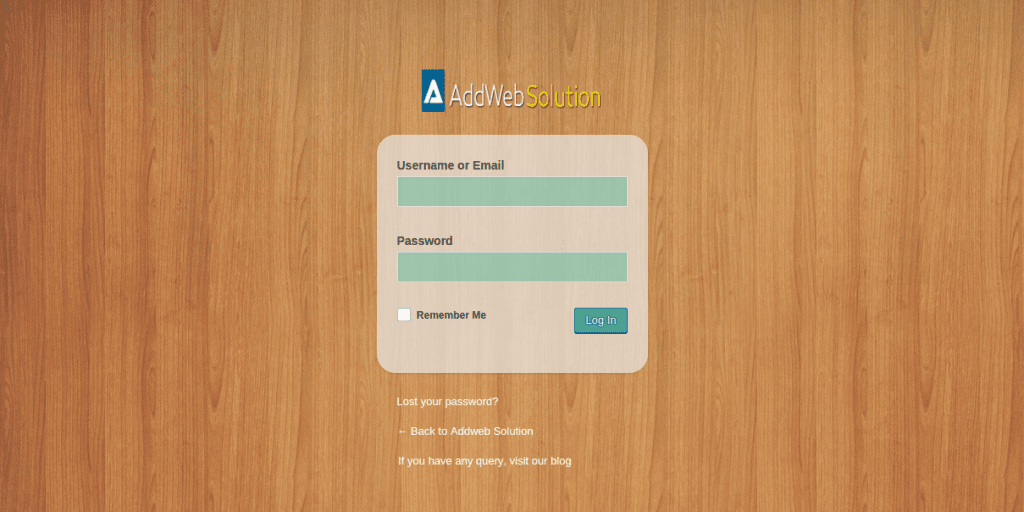
Result:
See that’s easy now to incorporate it, feel free to grab such quick steps to solve issues from my blogs. We are dominate WordPress Development Company Always happy to help 🙂
Frequently Asked Questions
Yes, you can! WordPress allows you to change your login page by modifying the theme’s functions.php file and adding custom CSS.
The functions.php file is part of your theme’s files. You can edit it by going to Appearance > Theme Editor in your WordPress dashboard. Add custom code to modify the login page structure and style.
Editing the functions.php file requires caution. Always make a backup before making changes. Incorrect coding can result in errors. Alternatively, use a child theme to ensure your modifications are safe from theme updates.
Yes, it’s possible. You can alter the login page URL by adding custom code to the functions.php file. However, be mindful of potential conflicts and thoroughly test the changes.
Yes, you can use CSS to style the login page. Adding custom styles to the functions.php file allows you to change the login page’s colors, fonts, and layout.
Certainly! You can upload your logo and add custom CSS to display it on the login page. The code can be added to the functions.php file or the Customizer’s Additional CSS section.
Mistakes in the functions.php file can lead to errors and potential site downtime. Always keep a backup, and if an error occurs, access your site via FTP and revert to the original functions.php file.
It’s advisable to test changes on a staging site or use a local development environment. This ensures that any modifications do not disrupt the live site.