

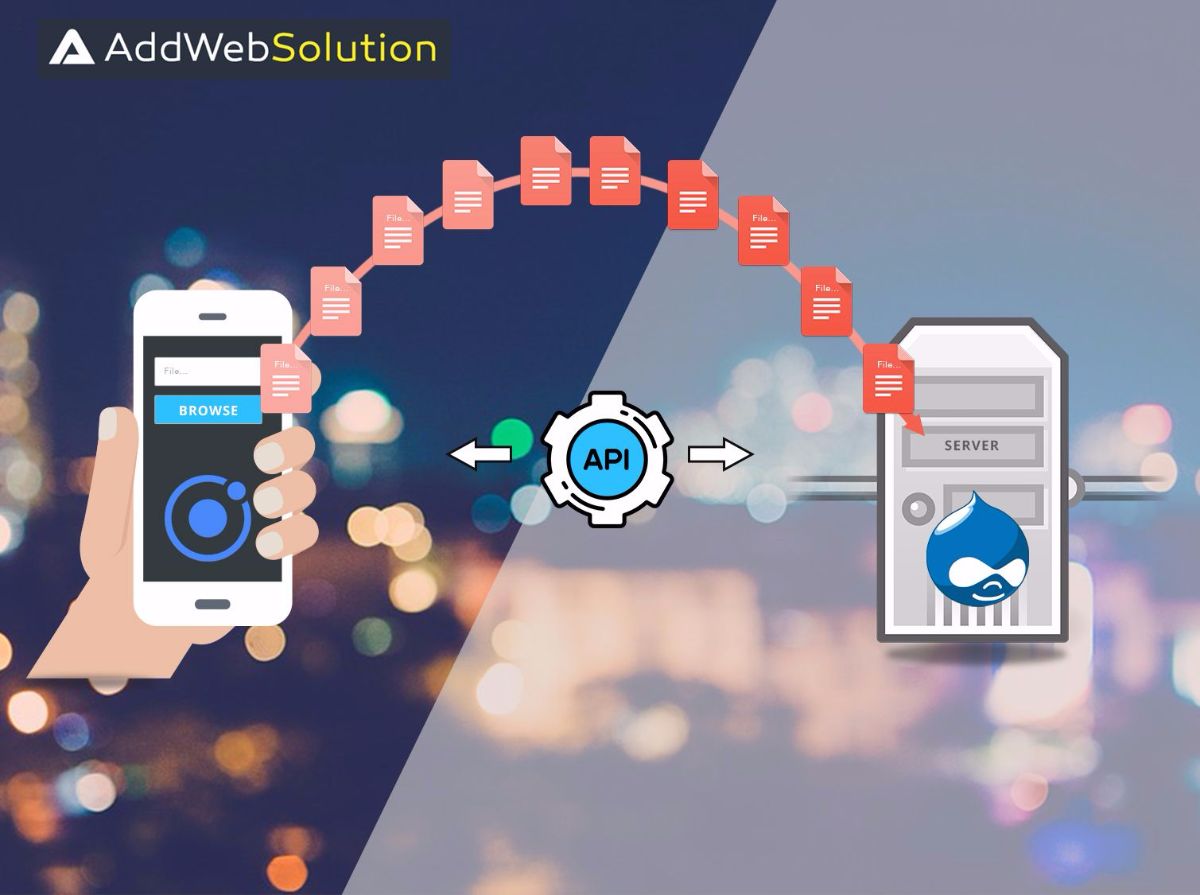
With ionic we can achieve a high level of integration with Drupal through the Drupal services module. Here I will share the knowledge about how to create a file ( Image ) using Drupal FILE services from an ionic application.
There are two main steps for this article:
- Ionic project setup
- Drupal project setup
Let’s see all the steps one by one in much detail.
1. Ionic project setup
For the ionic project setup, a few prerequisites need to be satisfied.
- nodejs
- Cordova
- Bower
- Ionic
- Android SDK and Mac machine ( This is not compulsory but recommended )
In this article, we will use command line tools for creating ionic applications. So, first of all, we need to install npm in the machine. You can download the latest node js version from the official site of node js.
After downloading and installing nodejs just fire below mentioned command to check the version of nodejs.
Node -vNode js will also get you the npm package manager using which we can install all the required modules for ionic along with itself.
sudo npm install -g cordova bower ionic
Using this above-mentioned single command you can install Cordova bower and ionic globally via the npm package manager. After this, you can review the versions of all for verifying the correction of installation.
bower -v
ionic -v
cordova -v
These are the commands for the same. Now we need to create one blank application using ionic.
ionic start myapp This is the command for creating a new blank ionic application. After this, we need to make certain changes in the application so that we can create file on the Drupal site using the ionic application. There are a few plugins that we need to install in the application for files.
    cd myapp

    ionic plugin add cordova-plugin-file

    ionic plugin add cordova-plugin-file-transfer

    ionic plugin add cordova-plugin-whitelist

    bower install angular-base64-upload
Fire above mentioned commands so that all the plugins related to files can be available in the application. Now go to myapp/www/templates/tab-dash.html and replace the code in that file with the code given below.
tab-dash.html<ion-view view-title="Dashboard">
<ion-content class="padding">
<h2>File upload</h2>
<div>
<input type="file" placeholder="Profile pic" name="picture" ng-model="files.picture_upload" base-sixty-four-input />
<button ng-click="uploadFile()">Upload me</button>
</div>
</ion-content>
</ion-view>Here we have added directive for base64 encode for sending files over the network.
Now next step is creating the logic of uploading files to drupal using files api from the ionic application.
.controller(imagUploadCtrl, function($scope, $ionicModal, $localStorage, $cordovaFileTransfer, FileResource,$http) {
$scope.uploadFile = function () {
var url = 'http://example.com/api/ionic_api/file';
      var config = {
      	'Content-Type': 'application/x-www-form-urlencoded',
            'X-CSRF-TOKEN': CSRF TOKEN
      }
$scope.num = (Math.ceil(Math.random() * 999));
fileData = {
      	filename :$scope.num+files.filename,
            filepath:'public://pictures/'+$scope.num+files.filename,
            file:files.base64
     	}

      $http.post(url, fileData, config)
      .success(function (data, status, headers, config) {
      	$localStorage.f_id = data.fid;
            udateData = {
                field_image:{
                  'und':[{
                      fid:$localStorage.f_id
                    }]
                  },
                uid:USER ID
            }

		var urlEditProfile = 'http://example.com/api/ionic_api/user/UID';
		$http.put(url, udateData, config)
		.success(function(data, status, headers, config){
			console.log(“User edited successfully”);
})
.error(function(data, status, headers, config){
	alert("Error");
              	console.log(JSON.stringify(data));
})


      })
      .error(function (data, status, header, config) {
      	alert("Error");
            console.log(JSON.stringify(data));
      });
}
})
2. Drupal project setup
In the above-mentioned code we are uploading an image for users it’s basically for their profile picture. So for the Drupal setup, we need any custom field for the user profile picture that we can include in the user edit form. For image upload for a node, you just need to pass NID instead of UID and also need to change the URL for node edit.
Services and CORS are the required modules that we should have in Drupal for working with services and especially with Cross-platform.
The CORS module is required to allow cross-origin requests to be served from the application.
NOTE: Check for other security modules that are installed or not in Drupal like Security Kit, and Shield. If any such modules are available you also need to make some configurations in those modules so that your cross-origin request is fulfilled properly otherwise it will give 403 ACCESS DENIED error.
Hope this blog helps you by all means. Feel free to share your feedback and reviews and contact us now if you need any assistance regarding Mobile App Development.

Your Vision, Our Expertise. Drive Success with Our Drupal Development Services

Pooja Upadhyay
Director Of People Operations & Client Relations